
The Customer Portal allows customers to manage their accounts, make bill payments, and change their personal information when needed. This article will walk you through the various pages and tabs available within the Customer Portal and provide some examples of common actions you can take.
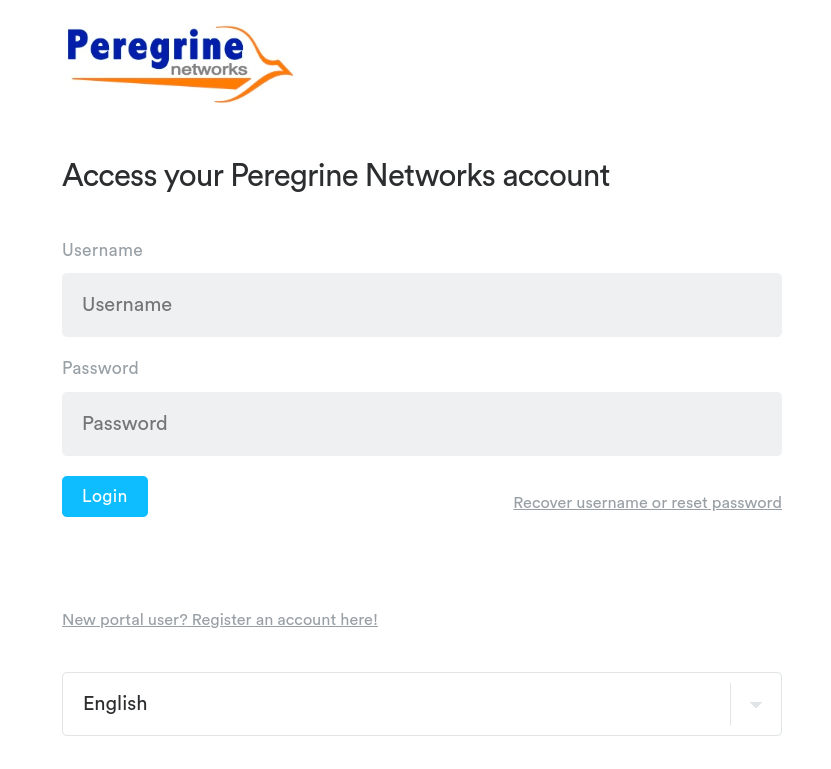
The Login Page
The first page you’ll have access to when you’re first provided an account to the portal. In most cases, when you sign up for a service with Peregrine Networks, you’ll be sent an email that will provide your username and initial password, along with a link to Peregrine’s Portal page login.
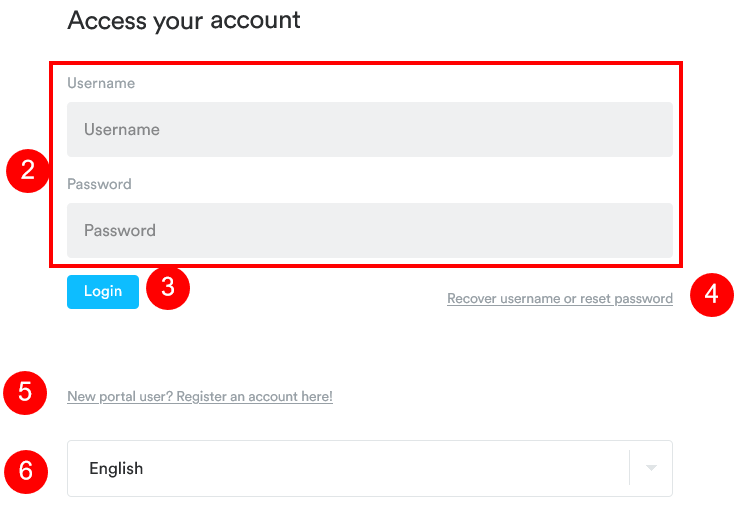
Login Page Field Breakdown
First Time Registration
If an account for the portal wasn’t automatically created by Peregrine Networks, you can always register yourself. All you need for this process is a link to the Customer Portal and an email address on file with Peregrine Networks.
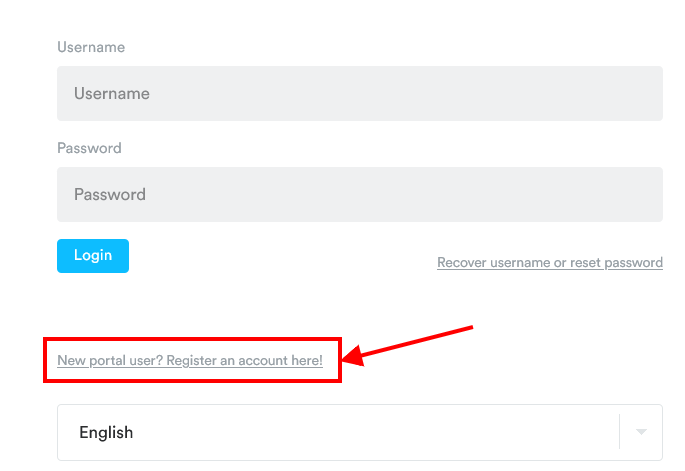
- Navigate to the Customer Portal, and click on the “New portal user? Register an account here!” button
- Fill in the email address matching the information you provided to Peregrine Networks (1), and click on “Lookup Email Address”
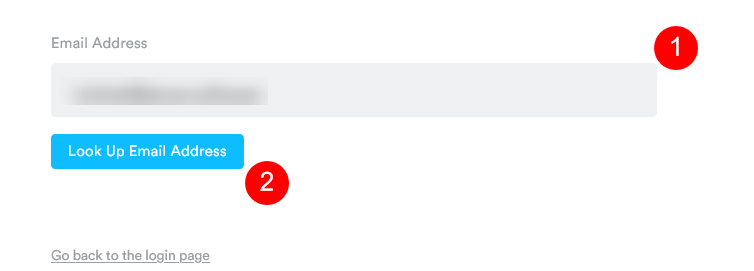
- If the email address provided matches your information, an email will be sent out with instructions to finalize the registration process with a temporary password and a username.
- If the email address you entered doesn’t match the records from Peregrine Networks, an error message will appear:
 In this case, we recommend you contact Peregrine Networks for further assistance in creating an account.
- If the email address you entered doesn’t match the records from Peregrine Networks, an error message will appear:
Customer Portal Pages
Once you’re logged in to the Customer Portal, you’ll be greeted first with the Billing Page, which we’ll explore first:
The Billing Page
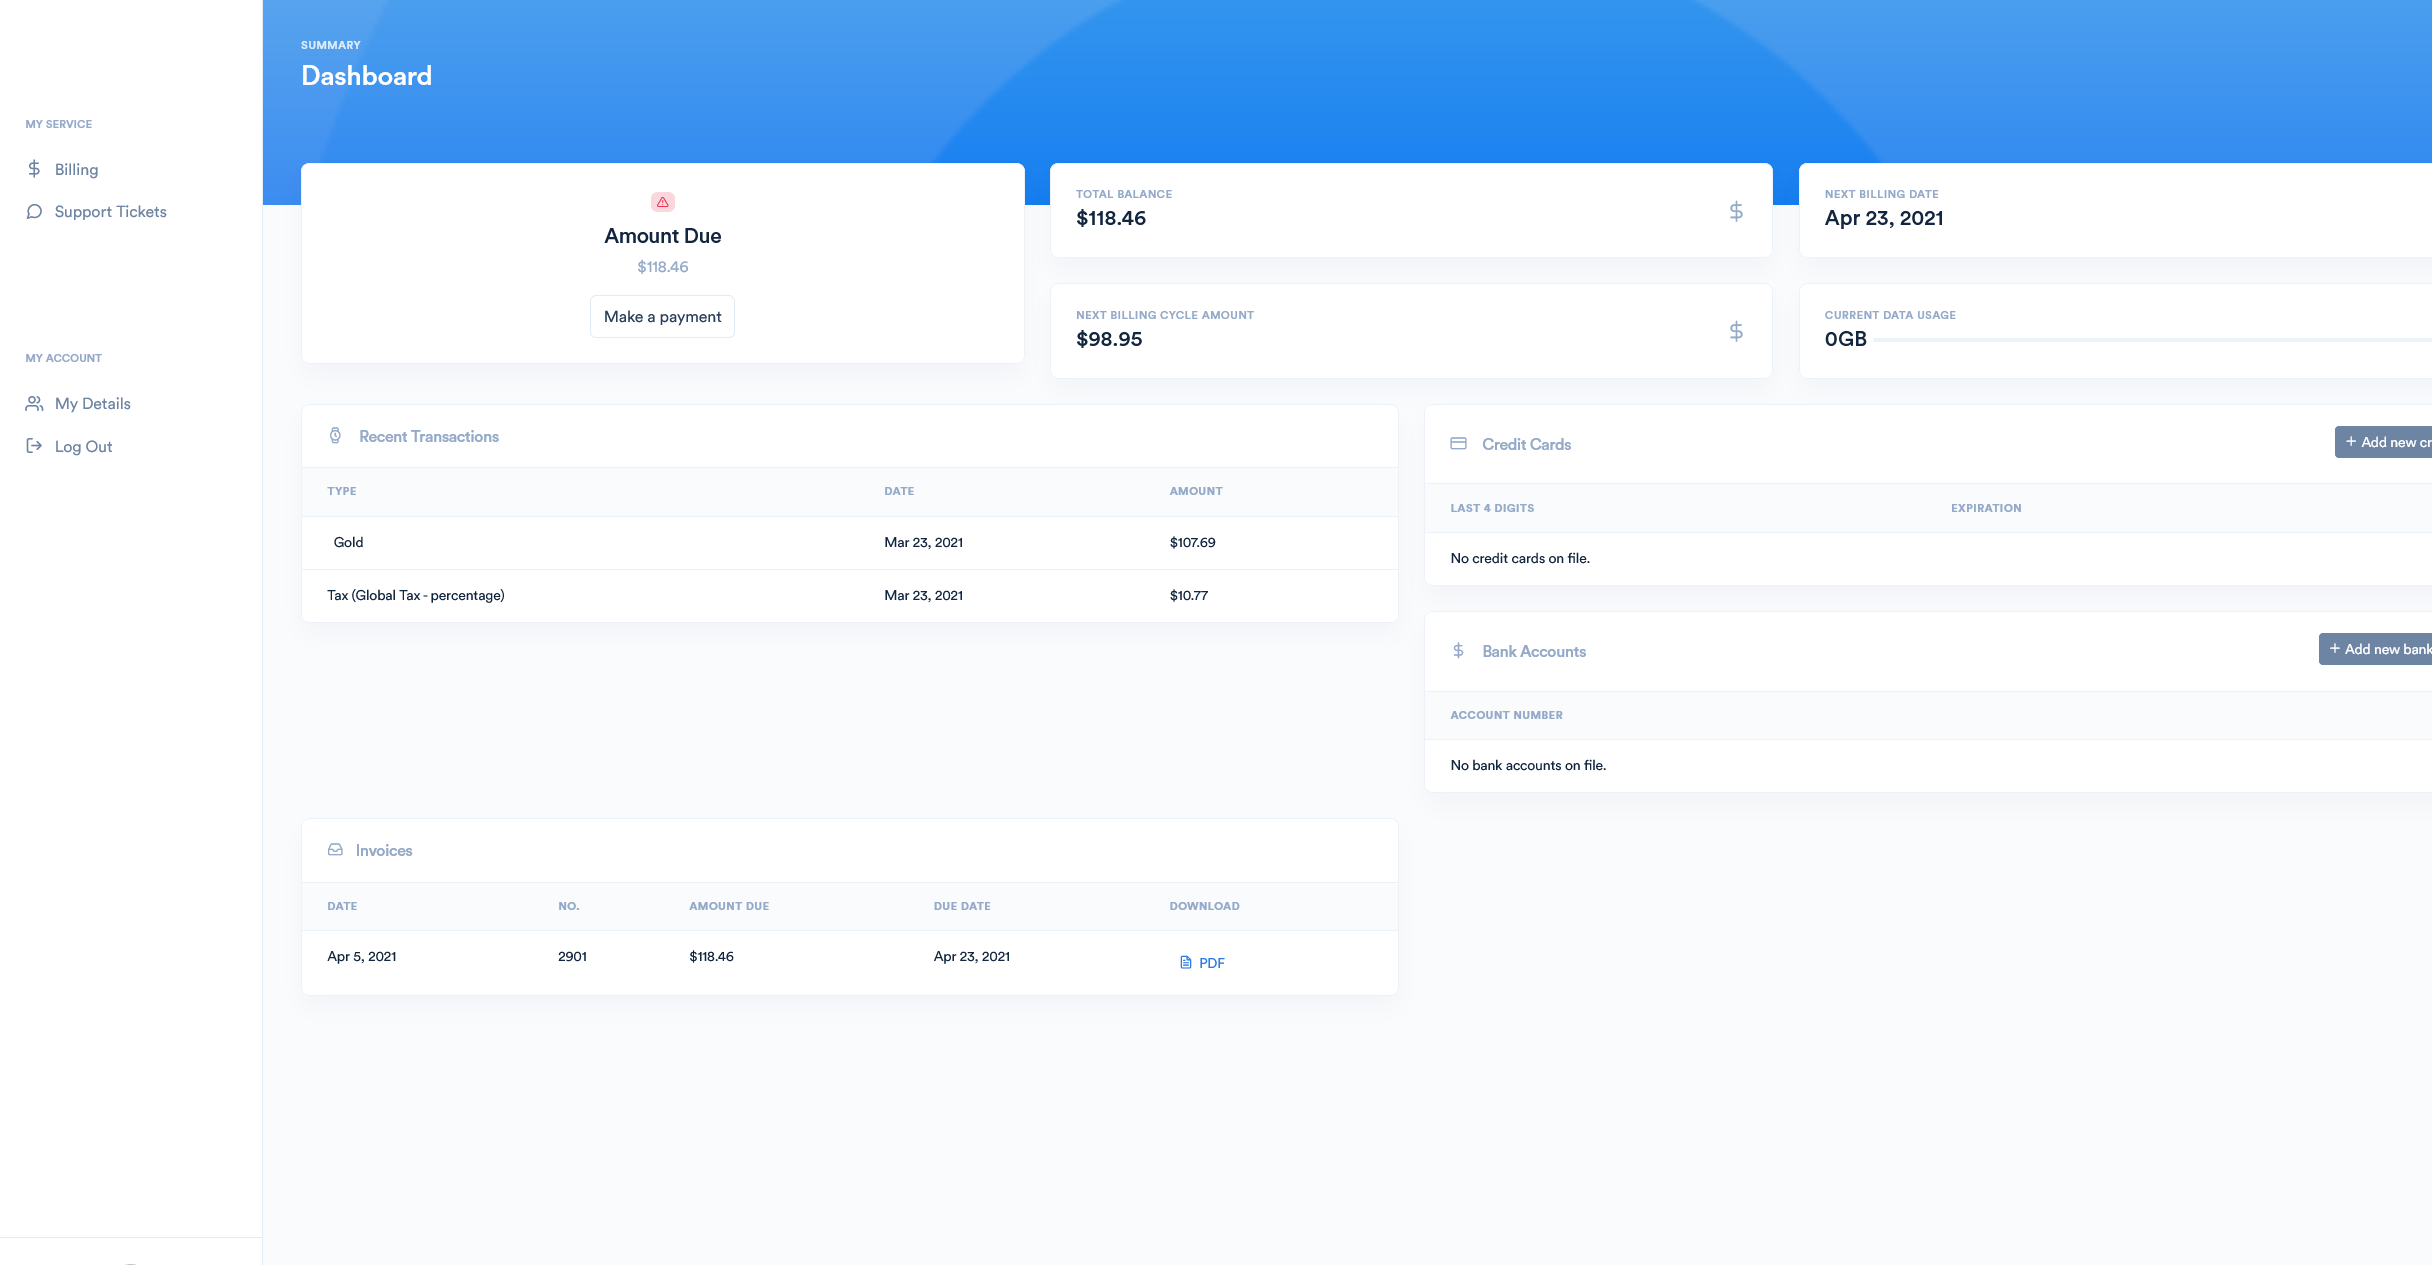
The Billing page provides an overview of your account status with Peregrine Networks. It reflects your current account balance while also providing details on your payment information and generated invoices. This is the page you’ll land on as soon as you log in to your Customer Portal account.
Billing Page Breakdown
- The Navigation Sidebar allows you to explore the various other pages of the Customer Portal. It also allows you to manage your account details, or log out. The latter options can also be performed by clicking on the avatar located in the bottom-left corner.
- The Amount Due, which is displayed in a few different locations on the Customer Portal, will keep a current tally of the value of any invoiced transactions.
- This section will also show a running tally of any open invoices, and by clicking on the “Make a payment” button, you’ll be taken to the Billing section of the Customer Portal to add a (or select an existing) payment method.
- The Total Balance section reflects the total of all transactions that have been added to the account. This value may differ from both the Amount Due and the Next Billing Cycle Amount.
- The Next Billing Cycle Amount will show how much will be invoiced when the next billing cycle begins, which will vary between accounts and depends on the settings set by Peregrine Networks.
- The Next Billing Date is shown here and will reflect when the next invoice, or billing cycle, will begin. The billing cycle also resets any data usage on your account.
- The Data Usage will appear when the Internet Service you’re subscribed to has a monthly data cap and will track your usage during the Billing Cycle.
- The Recent Transactions table will display details on any transactions that occurred within the current Billing Period, including the type of Transaction (which is usually the service name), the date of the transactions, and the amount.
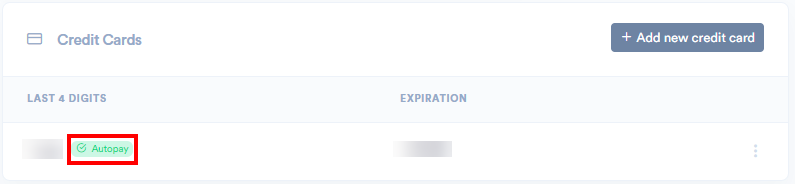
- The Credit Card section will list any credit cards that have been linked to your account, allowing you to be aware of which ones have been added and when they expire. If a particular card is set to auto-pay, an indicator will appear next to the card in question:
10. The Bank Accounts section will show the account number of any bank accounts added to your Customer Portal account. If a particular bank account is configured for auto-payment, an indicator will appear next to the acount in question:
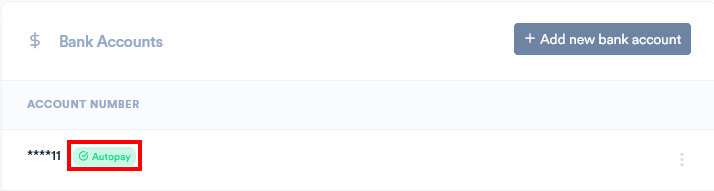
Do note that Bank Accounts can only be added for automatic payment by contacting Peregrine Networks directly, it cannot be configured through the portal.
11. The Invoices section shows the details of any invoices on your account, including their creation date, the invoice number, the amount due on the invoice, and the due date for payment. It also gives you the option to download a copy of the invoice.
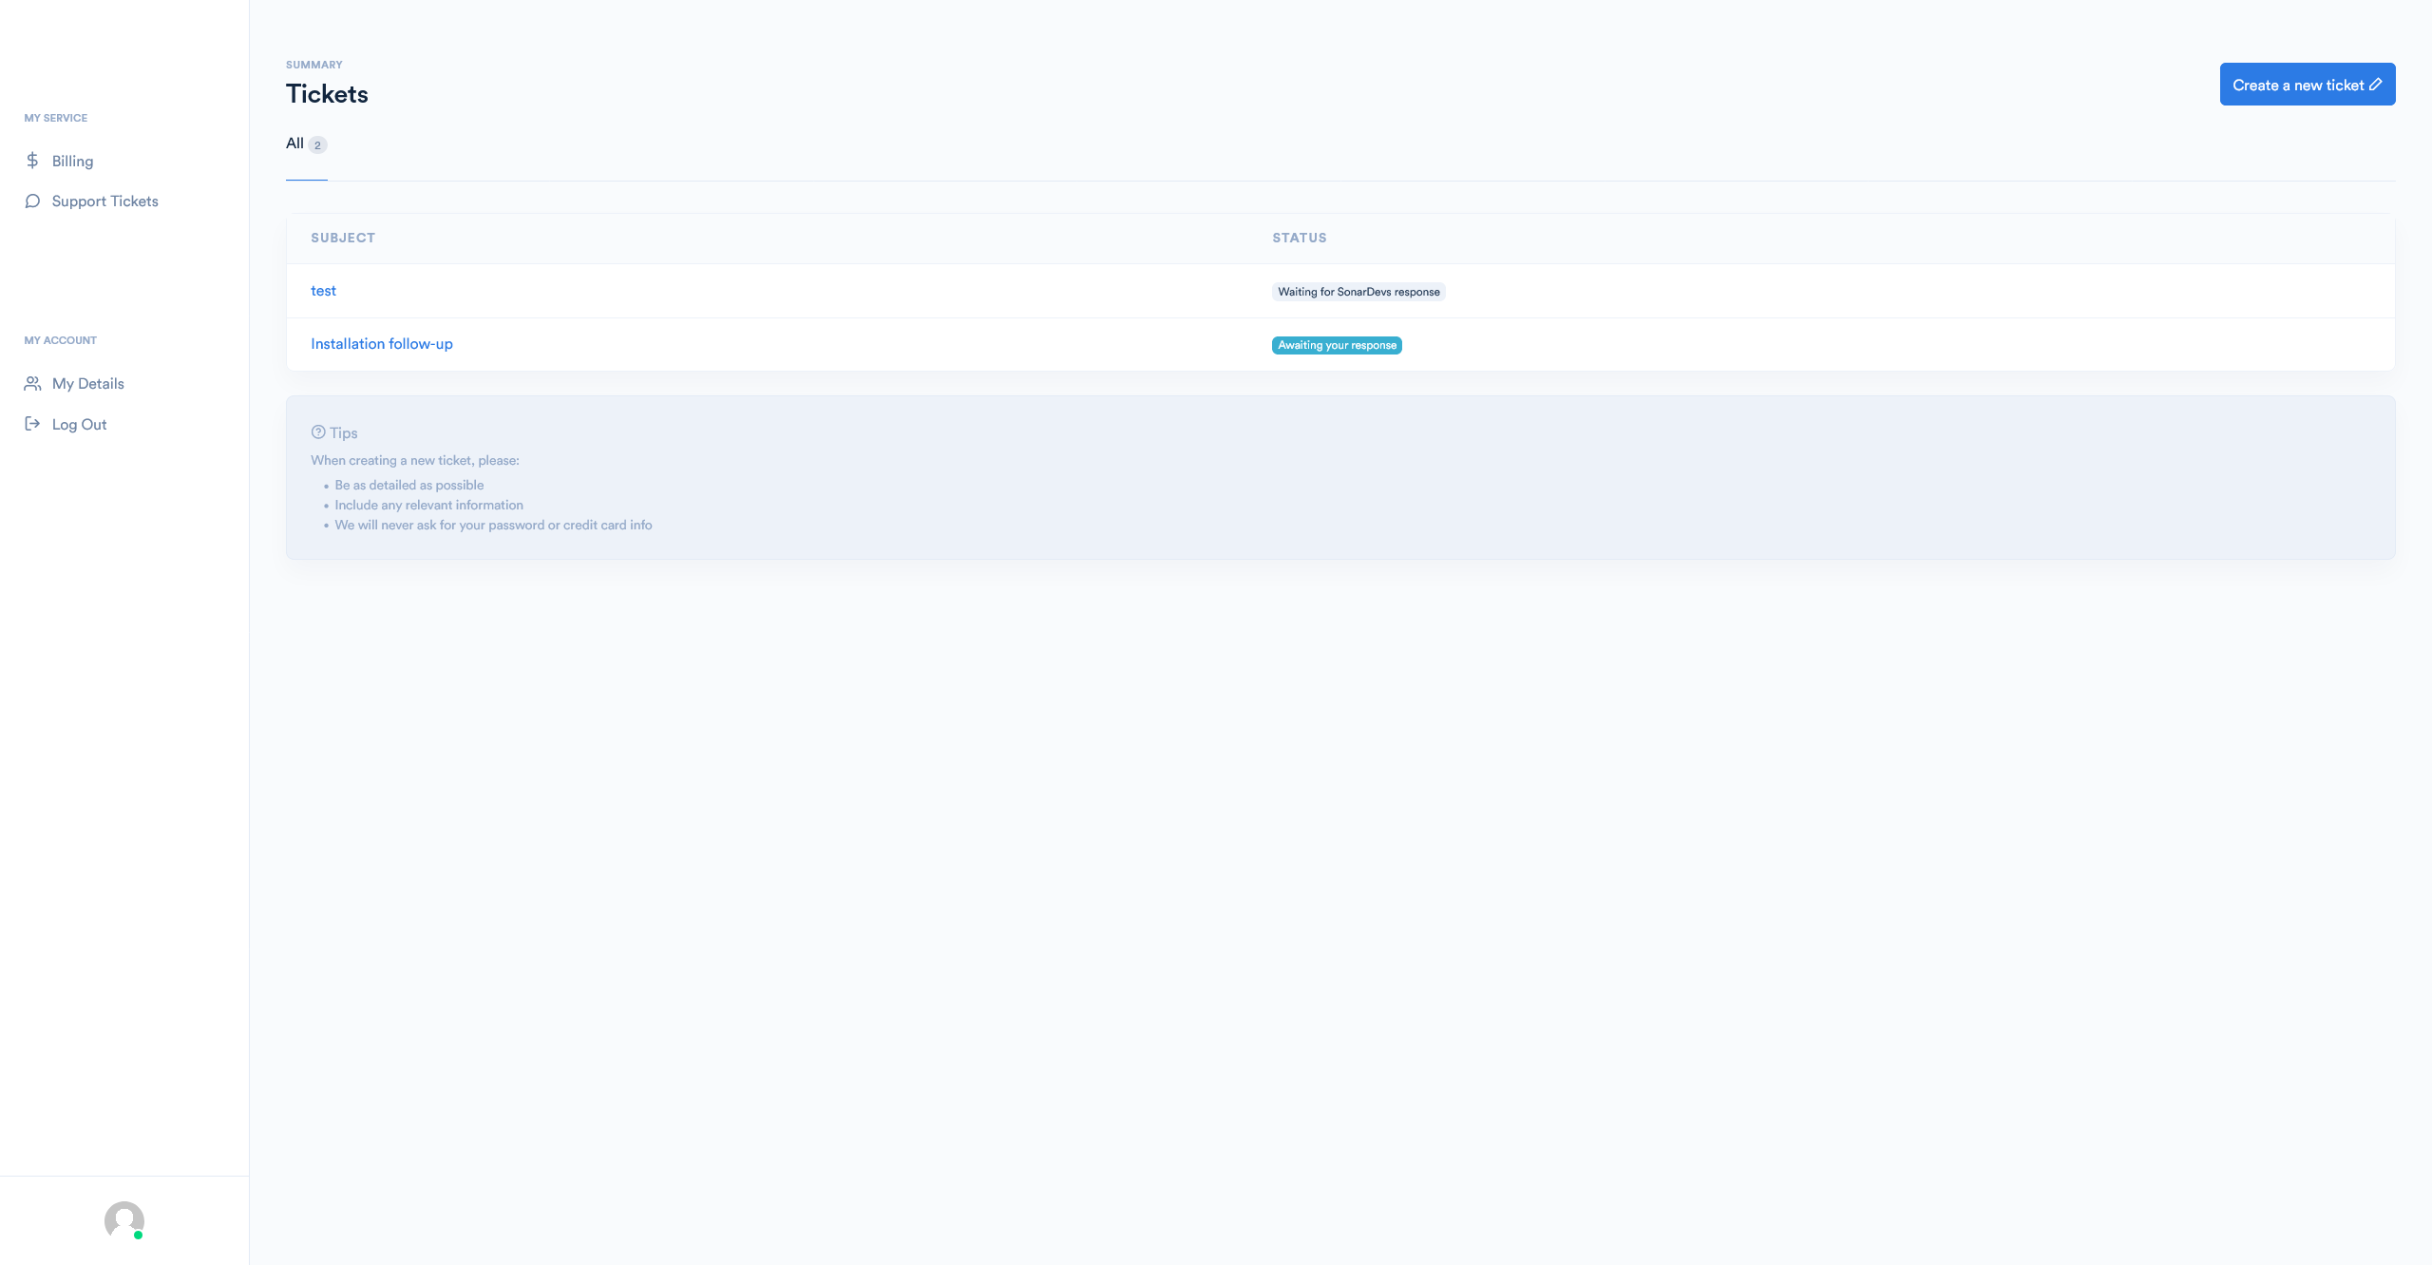
The Support Tickets Page
The Support Tickets page is where you can reach out to the support or billing team at Peregrine Networks directly through the portal. Any communication sent between the email supplied on your account and the mailbox set up by Peregrine Networks will be tracked and can be replied to through the Customer Portal.
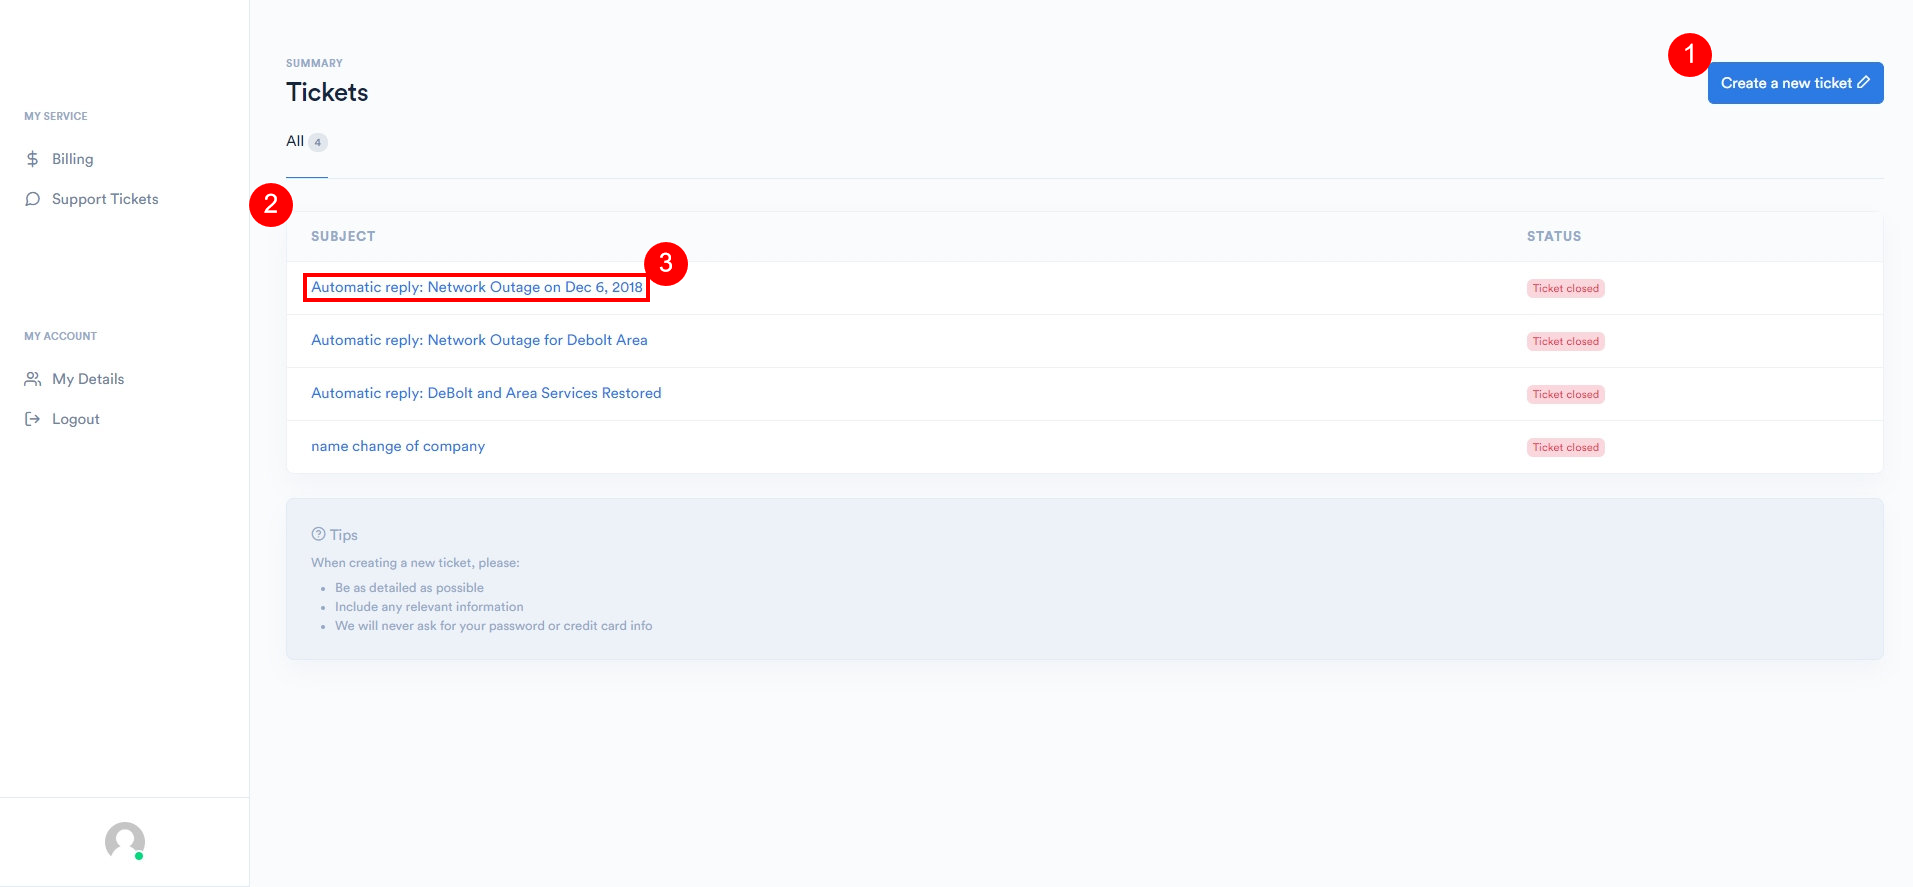
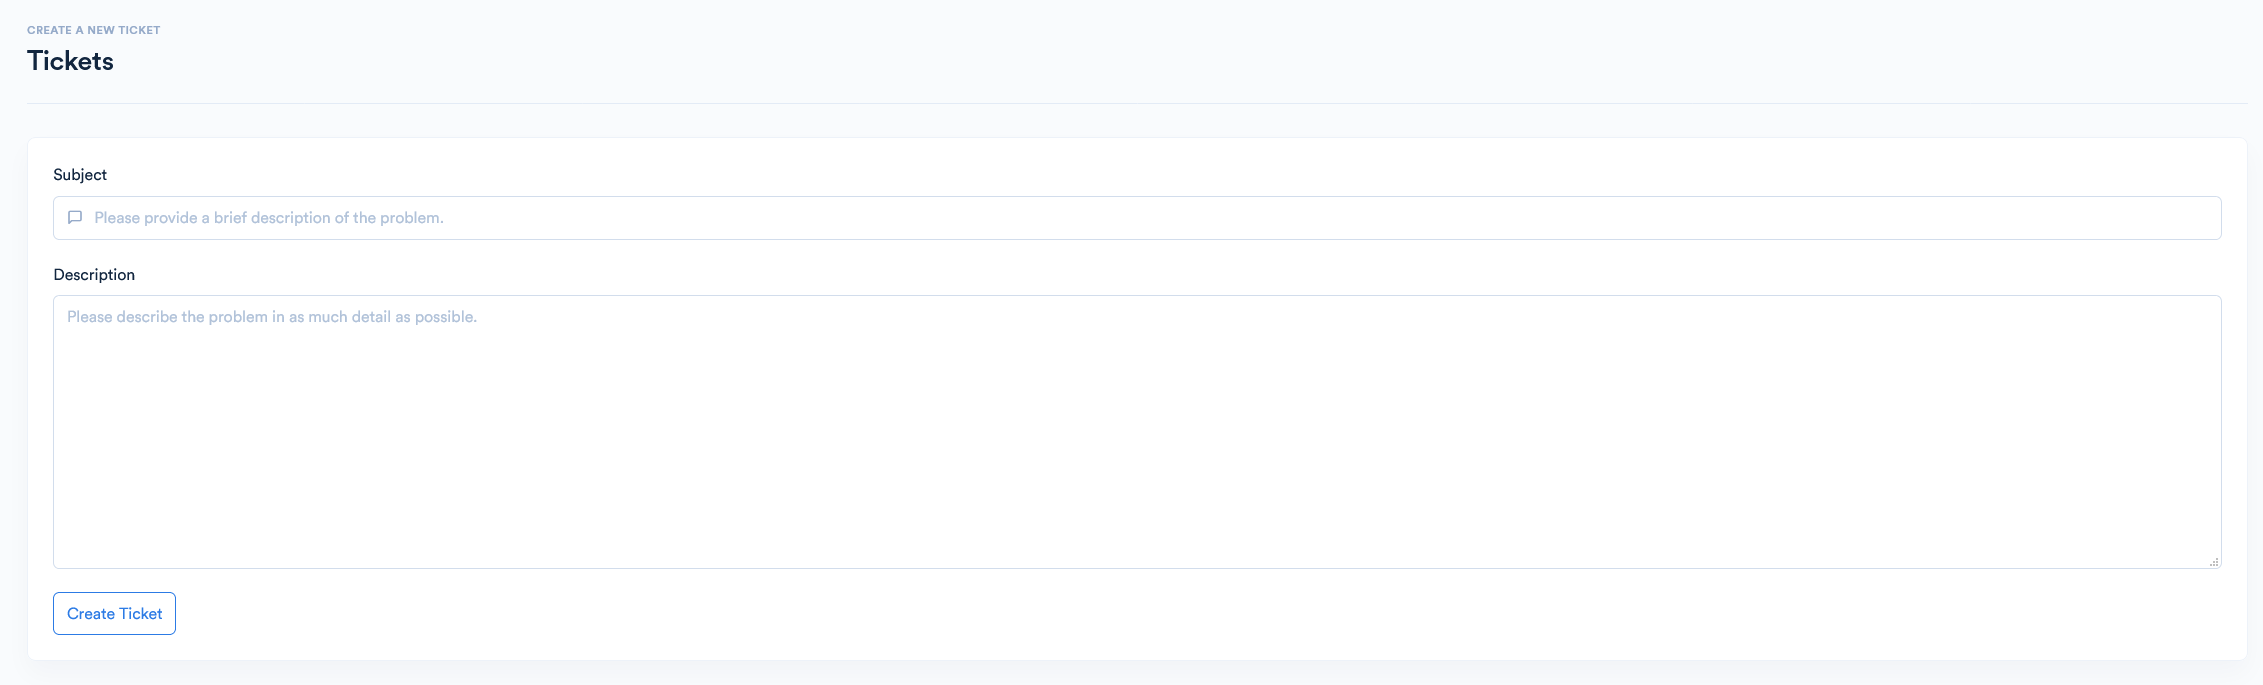
1. Clicking here will open the ticket creation window, allowing you to send a ticket to Peregrine Networks. You’ll need to provide a subject and some details regarding the reason for the ticket:
2. The Ticket section displays a view of all tickets on your account, along with their status – the status will indicate whether the ticket is waiting for a response from you (Awaiting Response), Waiting for a response from Peregrine Networks, or Closed.
3. Clicking on the ticket name will open the conversation history for the ticket, allowing you to send a reply to Peregrine Networks based on an open ticket.
Ticket Page Breakdown
The “My Details” Page
The “My Details” page is where you’ll find initial information Peregrine Networks has associated with you on your account. Your name, email address, and phone number are all among the information here, and can all be changed without needing to involve Peregrine Networks.
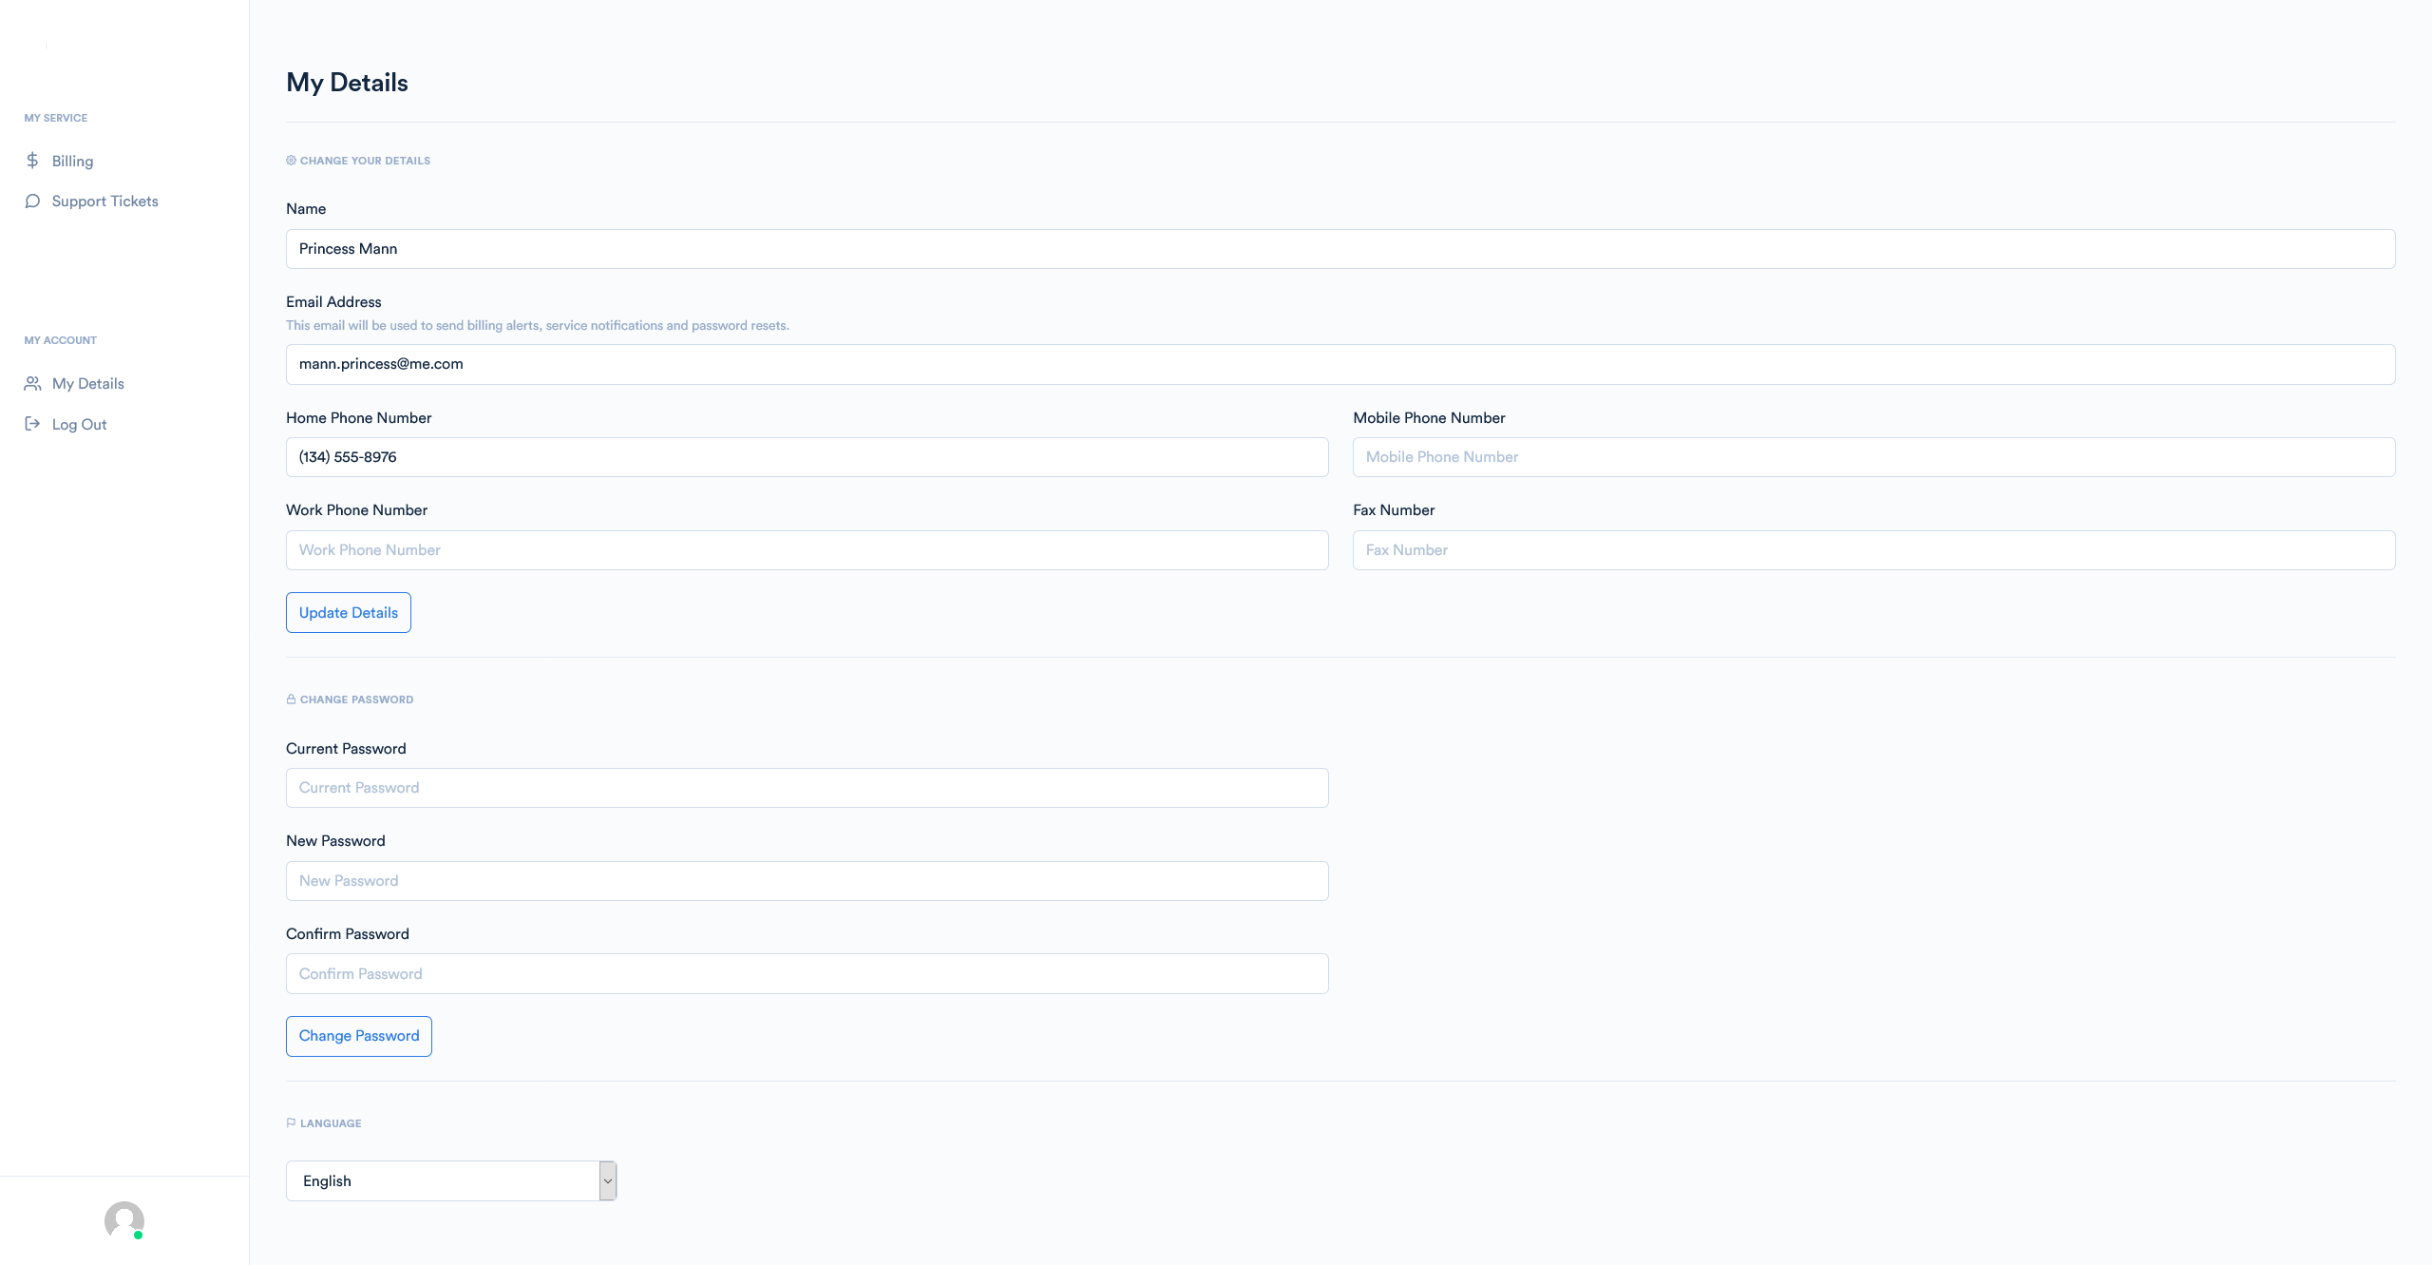
While changing the contact information might seem like an easy way to transition account ownership, we recommend always contacting Peregrine Networks to make a change like that in order to ensure everything is updated correctly.”My Details” Page field breakdown
ᵉˣᵃᵐᵖˡᵉ 
1. The name you provided to Peregrine Networks is listed here. You can update your name to correct misspellings using this tool, but if you need to assign your account to someone else entirely, contact Peregrine Networks.
2. The Email Address shown here is used to send billing alerts, service notifications and password resets. Your email address will also receive copies of any ticket communication between you and the ISP.
3. The Phone Numbers section is used to facilitate contact between you and Peregrine Networks, as these numbers are also accessible to Peregrine Networks.
4. If you made any changes to the main profile settings, you need to ensure to click “Update Details” for these changes to take effect.
5. If you want to change the password for your account, you need to complete all these sections, using your current password to verify account ownership, then entering the new password twice to ensure accuracy.
6. After all the fields are filled in, the “Change Password” button needs to be clicked in order to ensure the changes take effect.
7. Similarly to the Login screen, this dropdown allows you to modify the language of your Customer Portal account to currently supported English or French.